Claude setup
You can integrate Claude with Customer.io in your personal settings so you can engage your workspace through Claude conversations.
Use the built-in connector
Customer.io is in Claude’s Connectors directory. A connector you add in claude.ai or the Claude desktop app is available in your chats on the web, desktop, and mobile, in Cowork, and in Claude Code when you sign in with the same Claude account.
-
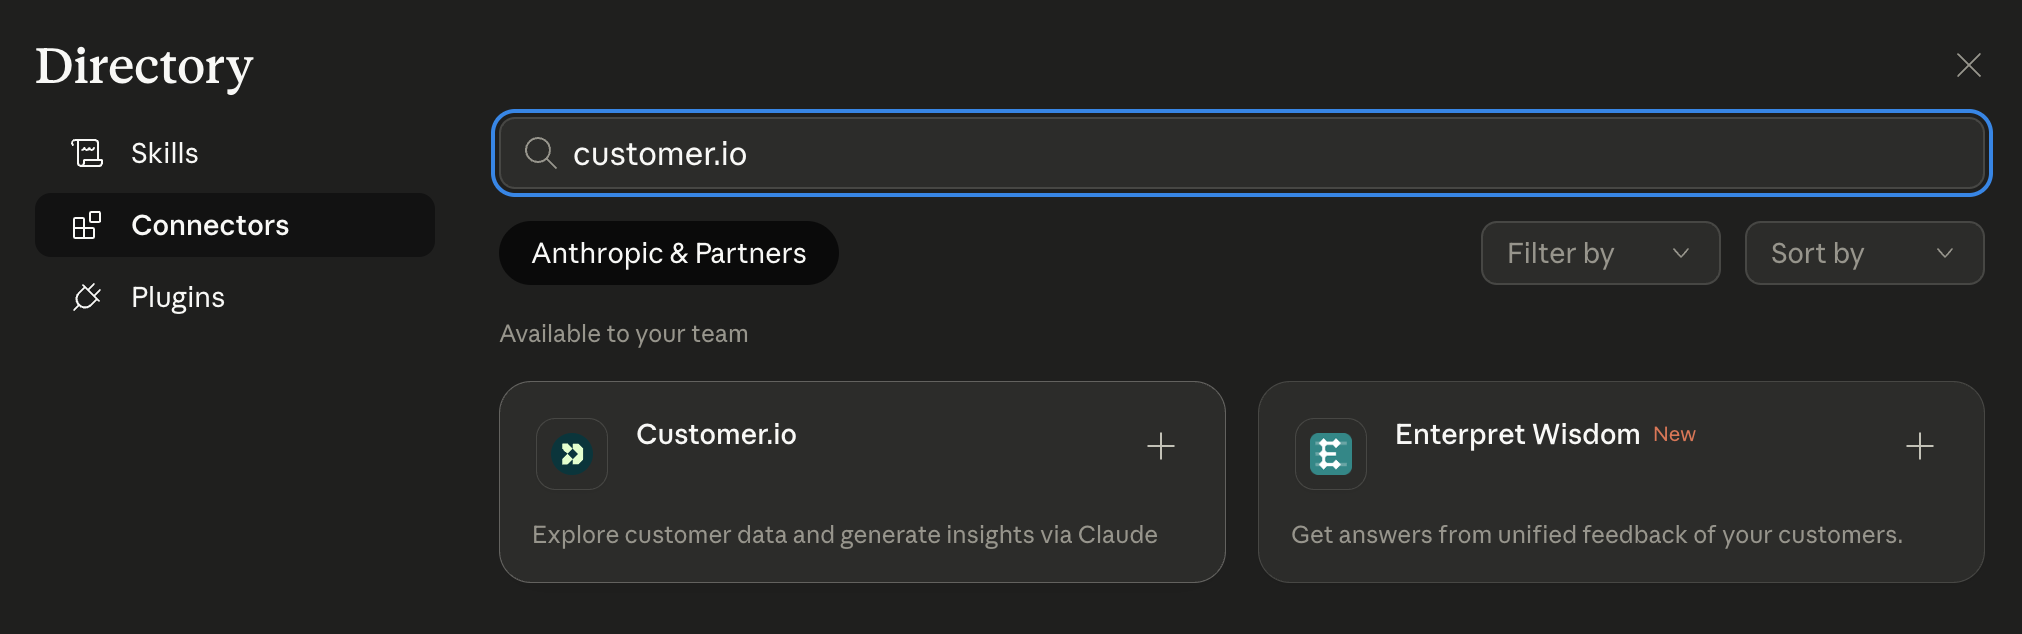
In Claude, go to Customize > Connectors and click Discover.
-
Find and click Customer.io.
-
Click Connect to Claude. If Claude asks for a server URL, enter our MCP server URL:
https://mcp.customer.io/mcp.On a Team or Enterprise plan, an Owner of your Claude organization adds the connector for everyone. Until then, you see Request instead of Connect to Claude. If you’re an Owner, click Connect for your team to add it for everyone and connect your account.
-
Sign in to Customer.io.
-
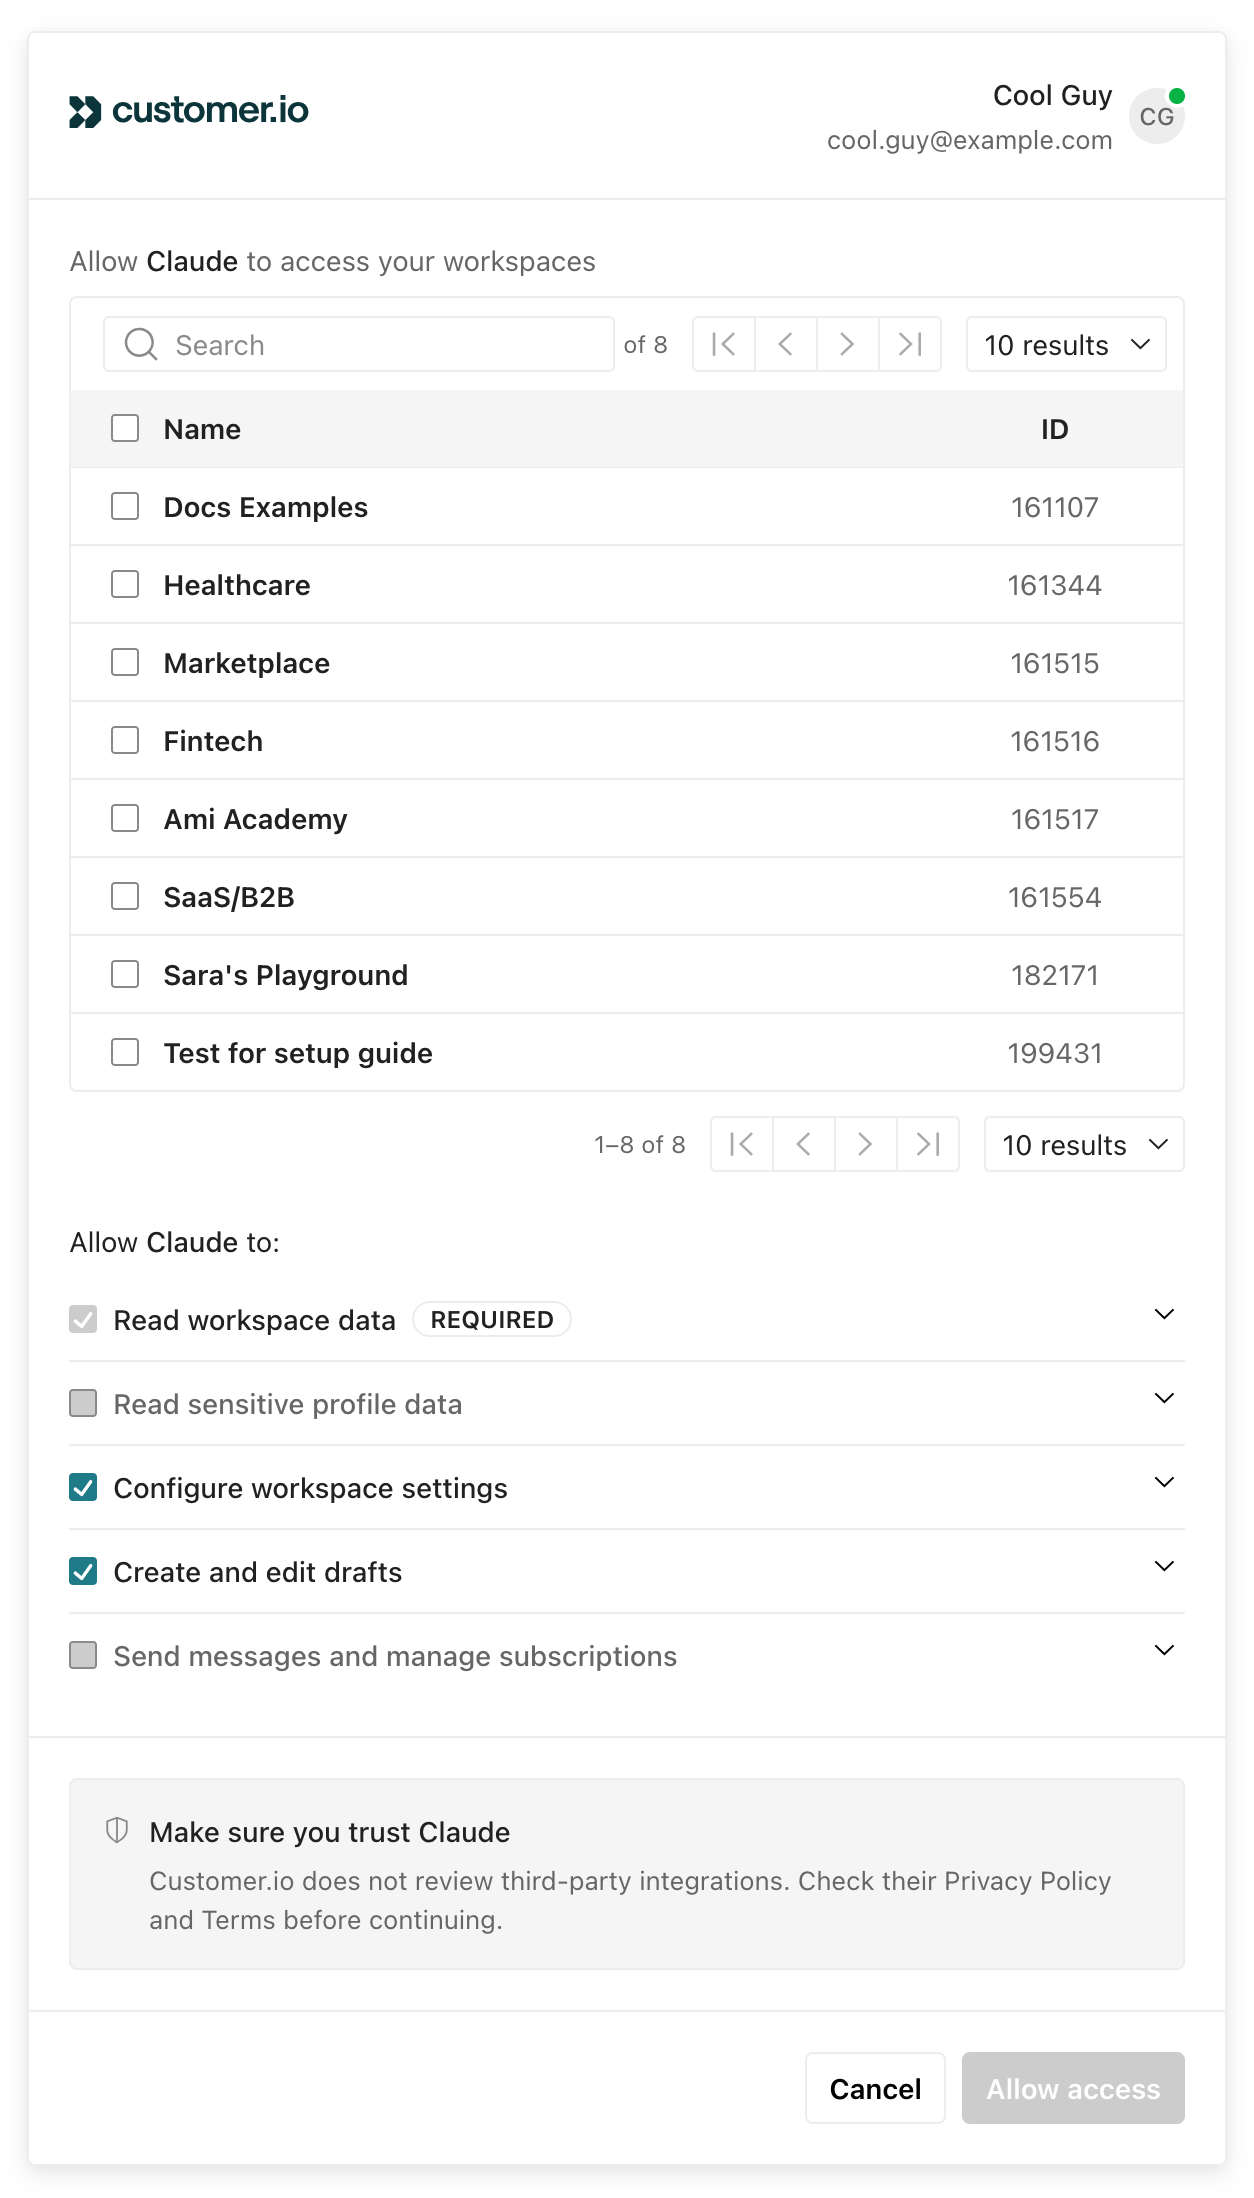
Select the workspaces and permissions you want to grant access to, then click Allow access. See permission scopes for details on permissions.
In a chat, click + in the message box and select Connectors to check that Customer.io is turned on for that conversation.
Set up a custom MCP connection
If you can’t use the directory connector, you can add Customer.io as a custom connector. On Claude’s Free plan, you can add one custom connector. On Team and Enterprise plans, only an Owner of your Claude organization can add a custom connector, in Organization settings > Connectors. Members then connect to it from Customize > Connectors.
You’ll need our MCP server URL: https://mcp.customer.io/mcp. You can use this URL for both US and EU accounts. When you sign in, Customer.io connects you to your account’s region.
If your tools don’t follow the redirect that sends EU requests to the EU region, use https://mcp-eu.customer.io/mcp instead.
If your tool asks for a transport type, choose Streamable HTTP, or set type to http in a configuration file. We don’t support the server-sent events (sse) transport type.
-
In claude.ai or the Claude desktop app, go to Customize > Connectors and click Add custom connector.
-
Enter the MCP server URL above and click Add.
-
Click Connect and sign in to Customer.io.
-
Select the workspaces and permissions you want to grant access to and click Allow access. See permission scopes for details on permissions.
Find your workspace
When you use Customer.io MCP, you’ll need to tell your AI tool which workspace to work in. You can select a workspace by name or by ID.

Manage your MCP sessions
To see active sessions or revoke a connection, go to Settings > Personal Settings and click View sessions under Connected clients. Revoking a session ends it immediately and forces the client to re-authenticate.