Docs for you and your agents
Read the docs yourself, get answers using the Ask AI button, or point your AI client at them. Because Customer.io is AI-native, your AI client can then do the work for you: build segments, draft emails, or report on how your messages perform.
Learn more about our AI features →Customer.io is a platform for sending automated messages — email, push notifications, in-app and web messages, SMS, Slack, and webhooks — driven by the profile and event data you send it. These docs cover setting up a workspace, getting your data in, grouping people into segments, building automations, designing and sending messages, and reading the results. They also cover the REST APIs, mobile SDKs, and data pipeline integrations you use to connect Customer.io to the rest of your stack. If you're new, start with the quick start guide.
Start building
Claude Code
Make sure your account admin has turned on Customer.io MCP.
- Install the Customer.io plugin. Sign in on your first prompt.
/plugin marketplace add customerio/claude-plugin /plugin install customerio@customerio - Prompt your AI:
“List the workspaces in my account.”
ChatGPT
Make sure your account admin has turned on Customer.io MCP.
- Go to Plugins and install Customer.io.
- Click Connect and sign in.
- Prompt your AI:
“List the workspaces in my account.”
Cursor
Make sure your account admin has turned on Customer.io MCP.
- Install Customer.io from the Cursor Marketplace.
- Connect the Customer.io server under Settings > Tools & MCP.
- Prompt your AI:
“List the workspaces in my account.”
CLI
- Install the CLI and the skills that teach your AI assistant to use it:
npm install -g @customerio/cli cio skills install - Prompt your AI:
“List the workspaces in my account.”
What's new
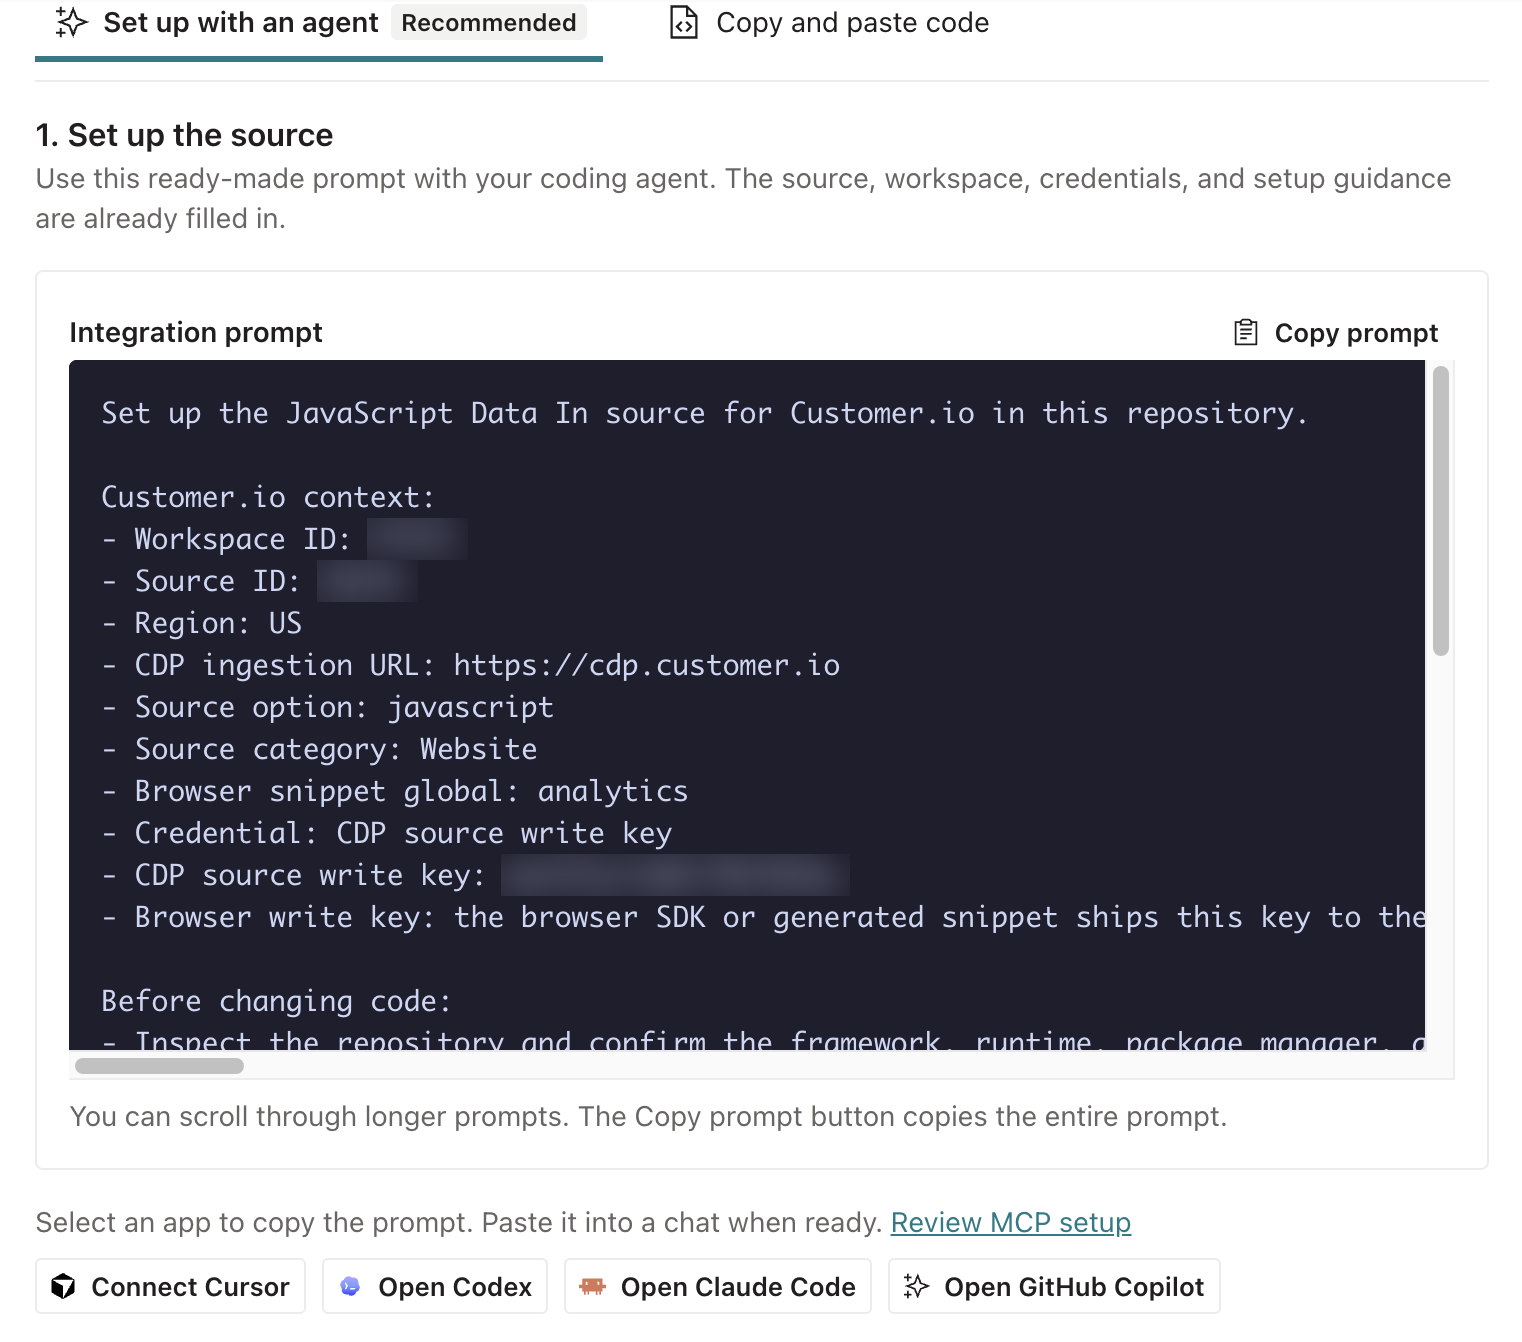
More releases- Oct 21, 2026 Simplify your integration setup with our prompts
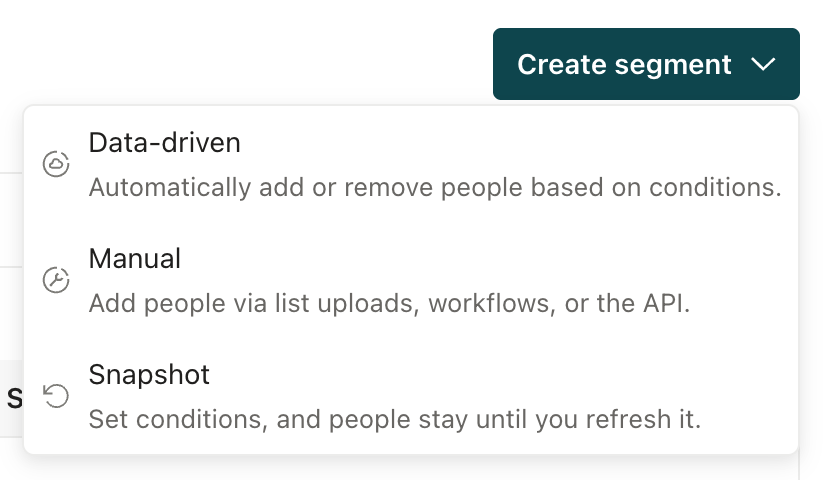
- Oct 20, 2026 Snapshot segments: capture your audience at a point-in-time
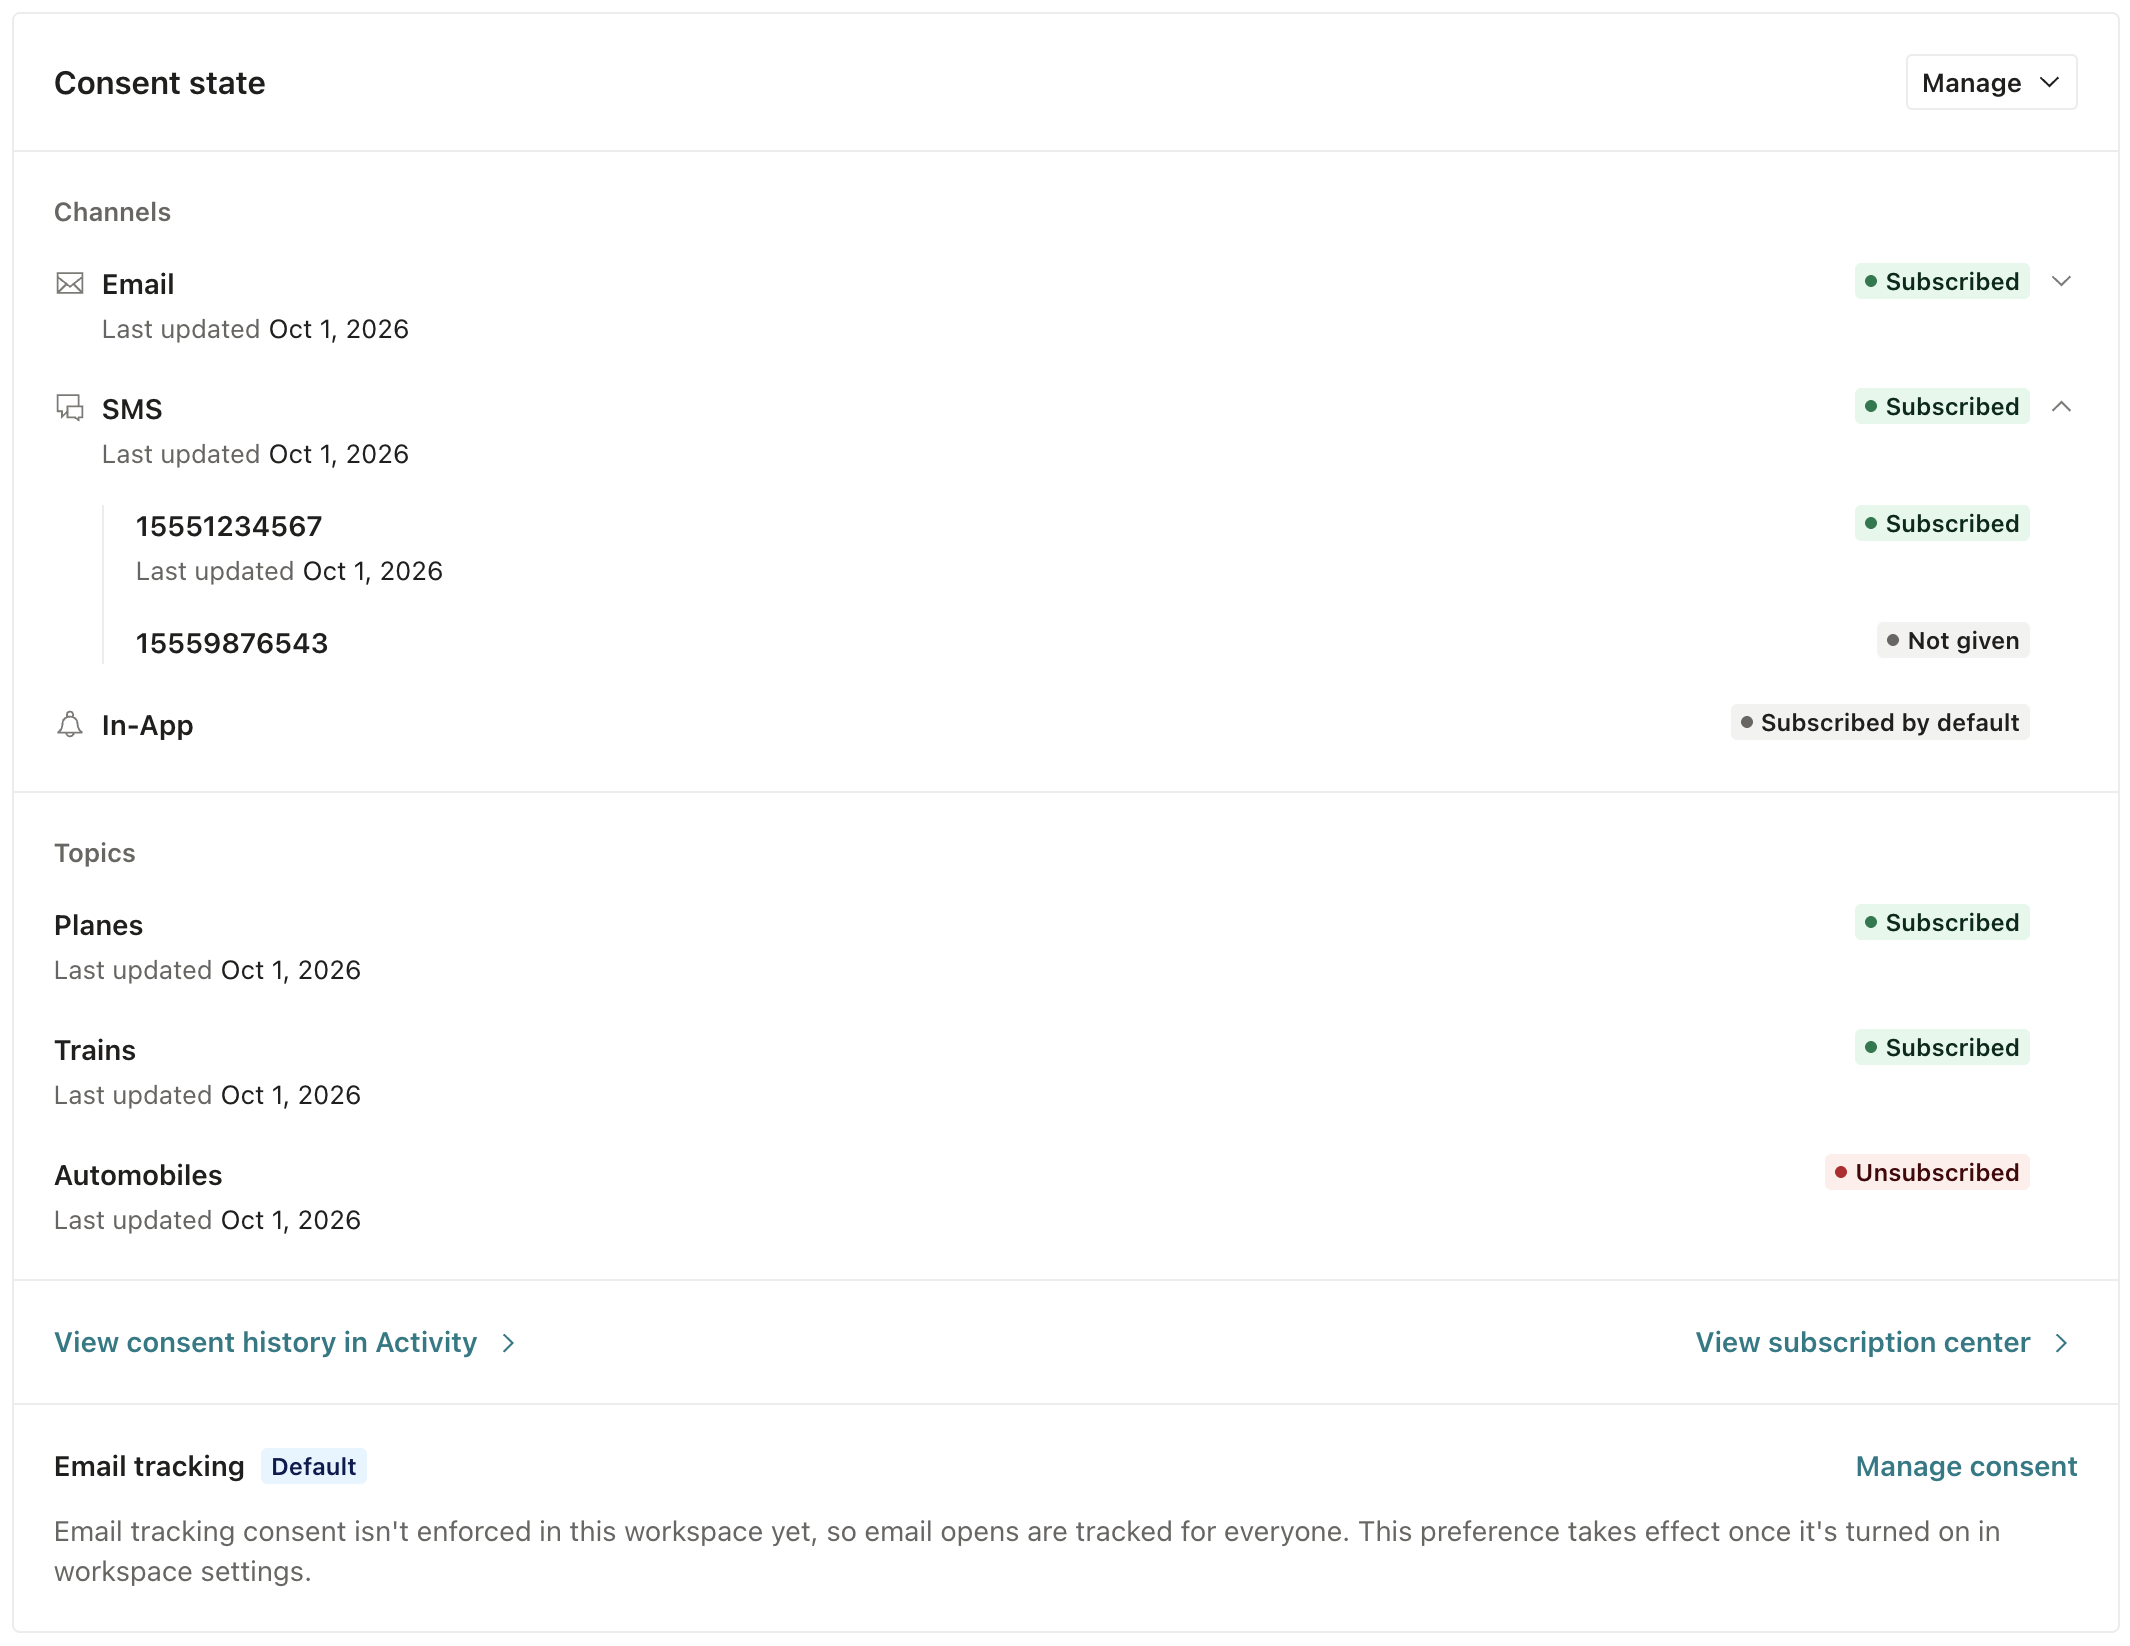
- Oct 1, 2026 Keep records of your audience's consent to receive messages
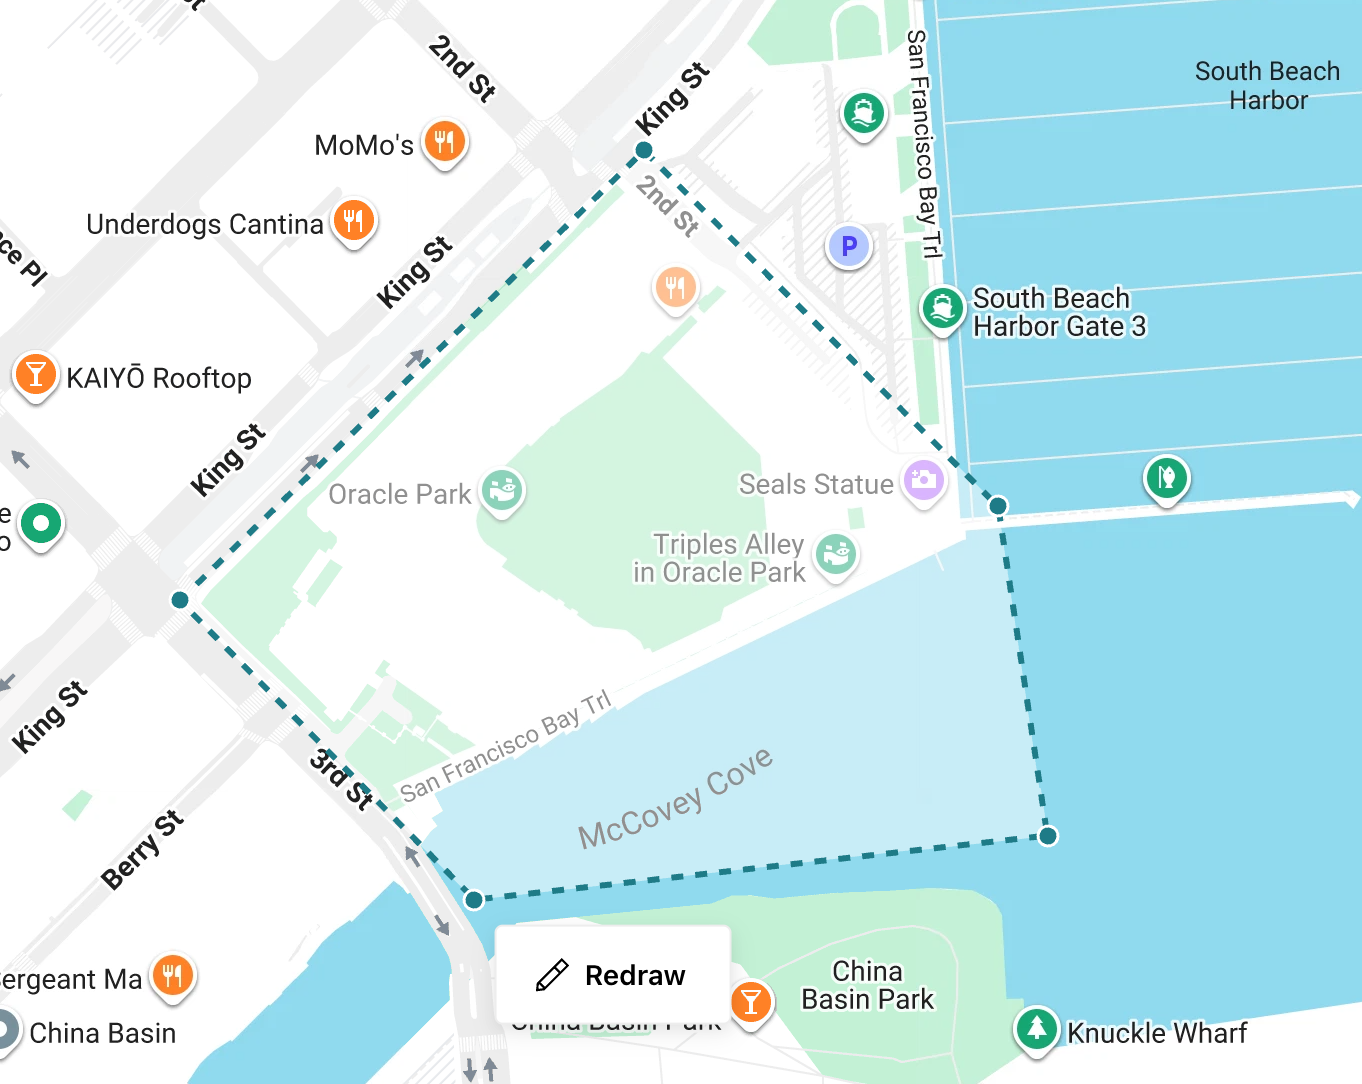
- Sep 25, 2026 Polygonal geofencing support
- Sep 24, 2026 Design Studio: AI-first email creation