

Schedule an automation
You can schedule your automation to start or stop at a specific date and time. Scheduling gives your team the flexibility to plan and execute time-bound marketing initiatives with fewer manual steps. For instance, you might have a seasonal automation or limited-time offer that you want to make sure is only available during the relevant time period.
How it works
When you schedule an automation, Customer.io automatically manages it based on your specified times:
- Start time: When the automation starts to trigger and process journeys
- Stop time: When the automation stops accepting new people
Scheduled automations display a “Scheduled” label next to their status indicator. The “Scheduled” label shows that a start and/or stop time is set, while the status (like “Running”, “Draft”, or “Stopped”) shows the automation’s current state. The “Scheduled” label displays as long as the automation has a start or stop time scheduled in the future. For instance, an automation with the status “Draft” and the label “Scheduled” means the automation has not started but has a scheduled start or stop time that has not passed.
You can hover over the label to see any scheduled times.

Add a schedule
After you finalize your workflow, click Start automation to review your automation and schedule it.
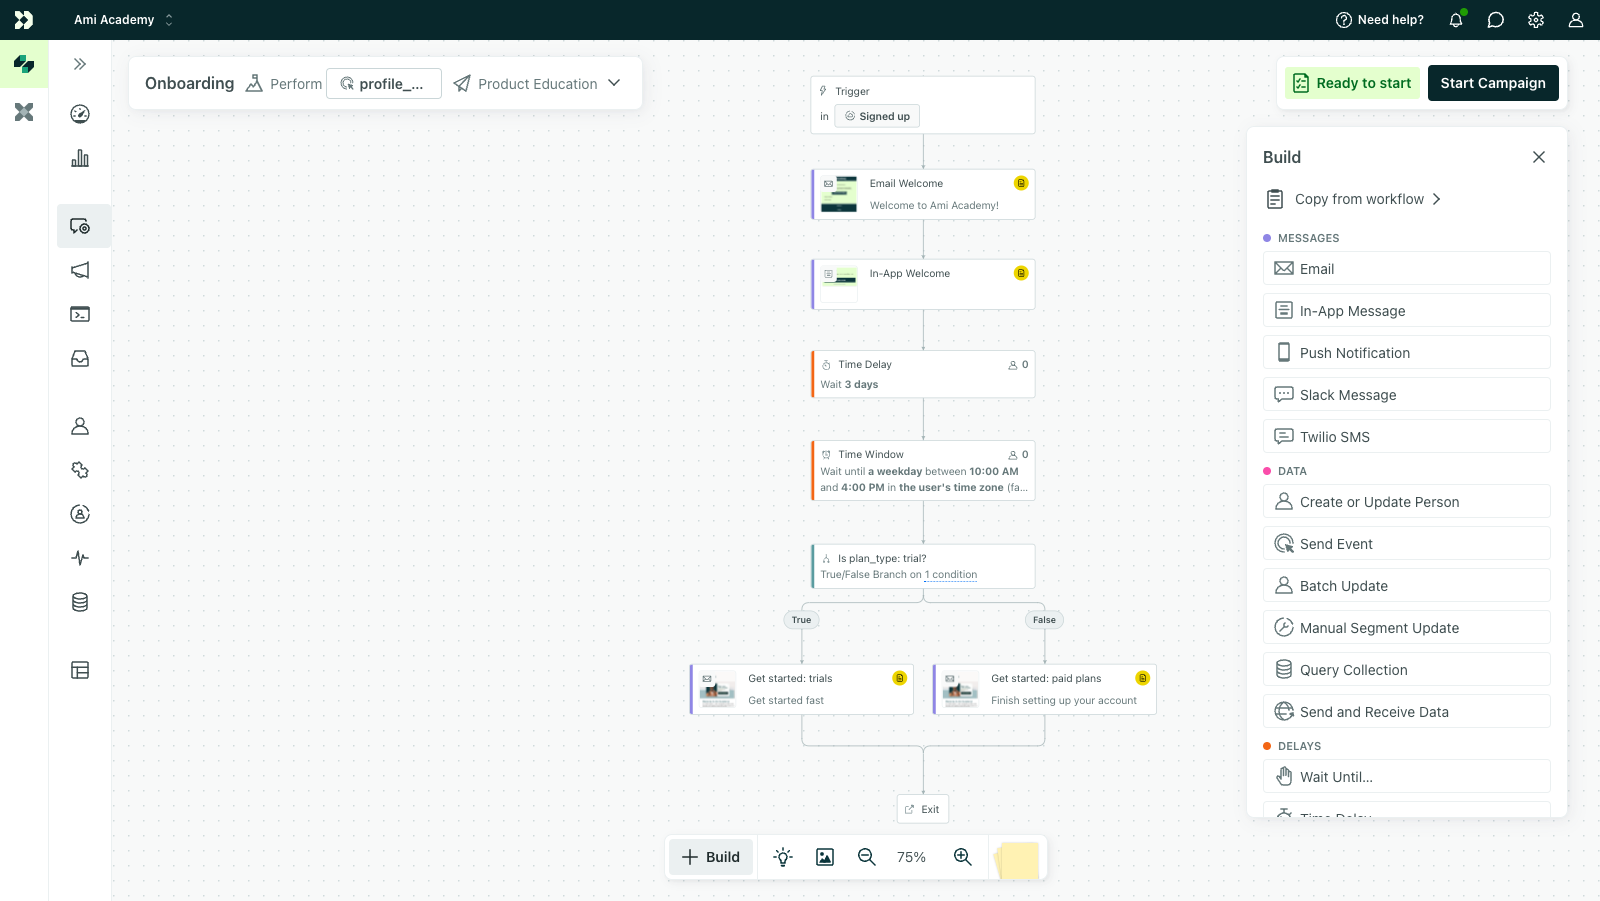
- In the review modal, click Schedule.
- (Optional) Specify a start time.
- For automations triggered by an attribute, segment, object, or relationship, you’ll also specify whether current and future matches or only future matches should trigger the automation.
- (Optional) Specify a stop time.
- Decide what should happen to active journeys when the stop time is reached: do they exit immediately or finish their journey? Learn more about how these options impact your messages and users.
- Click Schedule Automation.
Learn more about rescheduling automations and impacts on live automations below.
Update a draft automation’s schedule
Follow the steps above to add a schedule.
You can modify the start time until the automation activates. Return to your workflow and edit the time in the review modal. Once the automation starts, the automation switches from “Draft” to “Running” but will continue to show as “Scheduled” to indicate there’s a start or stop time associated.
Schedule a running automation
When an automation is in a running state, it may have active journeys—people may actively be moving through your automation workflow. If you want to add or change the stop time, you must also decide what happens to active journeys when the stop time is reached: do they exit immediately or finish their journey?
- Go to the Automations list page and click inline with your automation name.
- Choose Schedule stop.
- Specify a stop time.
- Decide what should happen to active journeys when the stop time is reached: do they exit immediately or finish their journey? Learn more about how these options impact your messages and users.
- Click Save Schedule.
Reschedule a stopped automation
Consider whether you want to restart this existing automation or duplicate it to start a new one. Do you want past journeys as part of your data in this automation? If so, rescheduling makes sense.
- Go to the Automations list page and click inline with your automation name.
- Choose Schedule.
- (Optional) Specify a start time.
- For automations triggered by an attribute, segment, object, or relationship, you’ll also specify whether current and future matches or only future matches should trigger the automation.
- (Optional) Specify a stop time.
- Decide what should happen to active journeys when the stop time is reached: do they exit immediately or finish their journey? Learn more about how these options impact your messages and users.
- Click Save Schedule.
Reschedule an archived automation
Instead of rescheduling an archived automation, consider duplicating the automation and starting fresh. Otherwise, if you want to preserve journeys from the previous run of the automation, you must first unarchive it then follow the steps above for stopped automations.
Delete a schedule
If the automation is in a draft state, you can delete the start or stop time the same way you added it—through the review modal in the workflow.
If the automation is running, you can remove the stop time:
- Go to the Automations list page and click your automation name.
- Click Actions and choose Schedule stop.
- Click Remove next to the stop time.
- Click Save Schedule.