Salesforce Data-Out Integration
PremiumThis feature is available for Premium plans. EnterpriseThis feature is available for Enterprise plans. UpdatedAbout this integration
Our Salesforce destination helps you create, update, or upsert records for any object type. Customer.io sends data to the Salesforce REST API.
Do you want to capture data from Salesforce?
Getting started
To send data to Salesforce, you connect the destination and authenticate through the Customer.io External Client App (ECA). Before you connect, a Salesforce admin needs to install the ECA in your Salesforce org.
- Go to Data & Integrations > Integrations and select the Salesforce entry in the Directory tab.
- (Optional) Select the data sources you want to connect to this destination. You can always connect data sources later. We’ll only show you data sources that work with your integration.
- Give your destination a Name so you’ll recognize it in Customer.io.
- If you send data to a Salesforce sandbox, enable the Sandbox Instance setting before you connect. Your sandbox username is likely the same as your production username with the sandbox name appended—for example,
user@acme.com.testfor a sandbox namedtest. (This is a Salesforce convention, not a Customer.io requirement.) - Install the Customer.io External Client App (ECA) in your Salesforce org. You only need to do this once per Salesforce environment, so you can skip this step if you already installed the ECA for another Salesforce integration—like if you already send data to Customer.io from Salesforce.
- Click Connect and log in to Salesforce. We set your instance URL automatically from the OAuth login.
- Click Enable Destination.
Install Customer.io as an External Client App
You may not need to do this if you already set up a Salesforce data-in integration. You only need to set up the external client app (ECA) once per Salesforce environment. If you set up a data-in integration, it’s likely you already installed the ECA package as a part of that setup.
Salesforce made changes around how integrations connect to Salesforce. If you set up your Salesforce integration before June 17, 2026, you need to migrate Salesforce integration to the new “External Client App” setup before August 17, 2026 or your integration will stop working.
If you haven’t migrated yet, we’ll show a banner in your Salesforce integration. See Migrate an existing Salesforce connection to upgrade authentication on your destination.
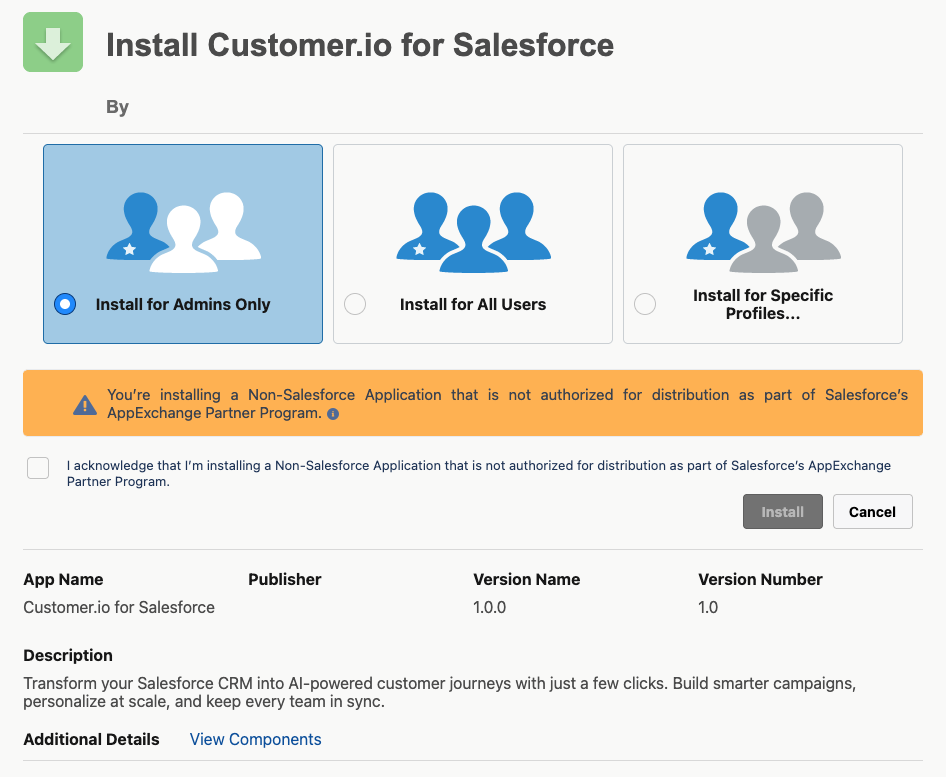
Salesforce may show a warning during installation
- In Customer.io, open the External Client App installation link for your Salesforce connection.
- Determine who should access the app.
- Acknowledge the warning about the app not being a part of the AppExchange Partner Program and click Upgrade.
- Return to Customer.io.
Migrate an existing Salesforce connection
If you connected your Salesforce integration before June 17, 2026, you need to migrate your existing destination instead of creating a new connection. A Salesforce admin installs the Customer.io External Client App package, then a Customer.io admin upgrades authentication on the destination from its Settings tab or the upgrade banner on the destination page.
The steps are the same for Salesforce sources and destinations. See Migrate an existing Salesforce connection for the full walkthrough.
Actions
When you’re done setting things up, you can go to the Actions tab to see how we map incoming data to your integration.
You may need to add actions for this integration
While we often have default triggers for actions, we don't always add those actions as defaults. You may need to add actions to make sure that you're sending all the data that you want to send to your integration. See our actions page for help setting up actions.
Mapping actions to Salesforce Operations
When you set up an action, you’ll select the Operation that you want to perform on a record. Our outgoing Salesforce integration supports the following operations:
- Create: Pushes new records to Salesforce. This operation works when you want to push new records but don’t need data within each row to remain up to date or when you’re working with static data that you won’t update later, like events.
- Upsert: Pushes new records to Salesforce and updates fields on existing records in Salesforce. This operation helps you push records into Salesforce and keep data up to date.
- Update: Updates fields on existing records in Salesforce. This operation works when you know that you already have records in Salesforce that you update or add new information to
- Delete: Deletes existing records in Salesforce.
Matching records with delete, update, and upsert
When you use the delete, update and upsert operations, you need to specify one or more Record Matchers. A record matcher is a value we’ll query Salesforce for to find and match the records you want to upsert, delete, or update. You can use any field in your source data as a record matcher, including:
- External IDs. To map an External ID, the Salesforce API name should have
__cappended to it. - Record IDs. To map a Record ID, the Salesforce API name is
Id. - Standard fields. To map a standard field, the Salesforce API name should match what is in Salesforce for the given field, for example
Email. - Custom fields. To map a custom field, the field needs to be predefined in Salesforce and the Salesforce API name should have
__cappended to it.
You can also set the Record Matchers Operator if you have multiple record matchers. This determines whether Salesforce matches on any record matcher (OR), or all record matchers (AND). If you have multiple Record Matchers, you should use fields that result in unique records. If the operator is set to Or and Salesforce finds multiple matching records, it won’t perform the operation. We’ll record a 300 status for the request, and will not retry it.
Note that you should only set Record Matchers that that have the “Filter” property in Salesforce; these are fields Salesforce can query. For example, we can’t perform a Salesforce query on the Description field because it is not a filterable property. You can look up the standard field properties in Salesforce’s API documentation to determine if a field is is a valid Record Matcher.